Parts

20×4 I2C LCD 
400 pin breadboard 
ESP8266 
Arduino Nano 
DS18B20 
Plastic Electronics Project Box 
Breadboard Power Supply 
x1 10kΩ Resistor 
Male – Female Jumpers 
Male – Male Wires
Description
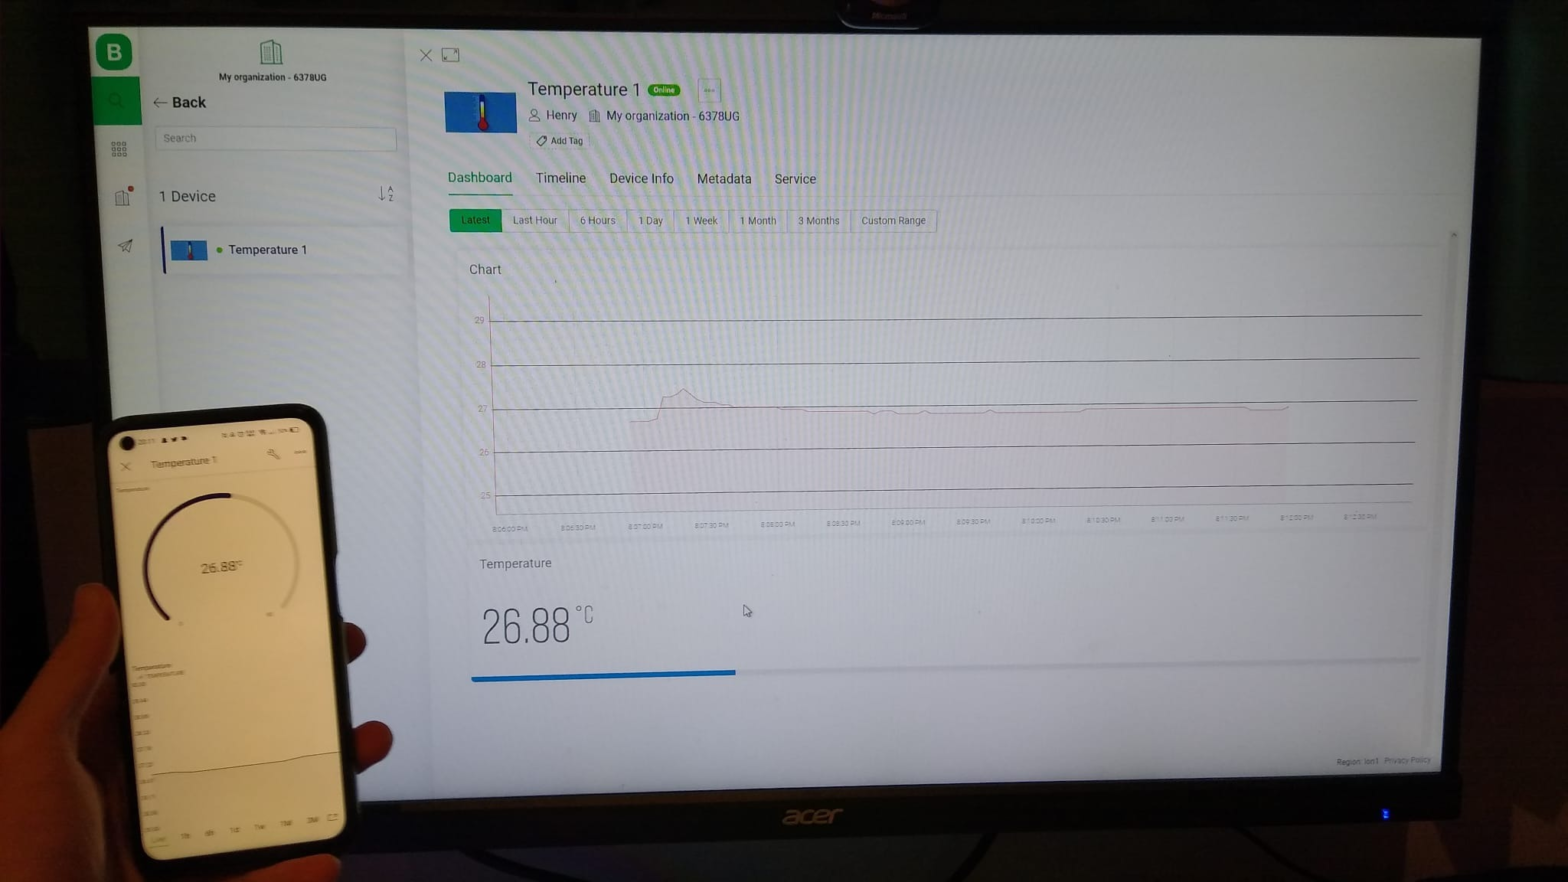
In this project, I made an internet connected device which displays the temperature of the room it is situated in, and relays the temperature to the Blynk cloud service to be accessed from another device.
Gallery


Blynk Dashboard
Code
/*************************************************************
  Download latest Blynk library here:
    https://github.com/blynkkk/blynk-library/releases/latest

  Blynk is a platform with iOS and Android apps to control
  Arduino, Raspberry Pi and the likes over the Internet.
  You can easily build graphic interfaces for all your
  projects by simply dragging and dropping widgets.

    Downloads, docs, tutorials: http://www.blynk.cc
    Sketch generator:           http://examples.blynk.cc
    Blynk community:            http://community.blynk.cc
    Follow us:                  http://www.fb.com/blynkapp
                                Tweets by blynk_app

  Blynk library is licensed under MIT license
  This example code is in public domain.

 *************************************************************

  This example shows how to use ESP8266 Shield (with AT commands)
  to connect your project to Blynk.

  WARNING!
    It's very tricky to get it working. Please read this article:
    http://help.blynk.cc/hardware-and-libraries/arduino/esp8266-with-at-firmware

  Change WiFi ssid, pass, and Blynk auth token to run :)
  Feel free to apply it to any other example. It's simple!
 *************************************************************/

/* Comment this out to disable prints and save space */
#define BLYNK_PRINT Serial


/* Fill-in your Template ID (only if using Blynk.Cloud) */
#define BLYNK_TEMPLATE_ID "******************"
#define BLYNK_DEVICE_NAME "Temperature 1"
char auth[] = "**************************************";


#include <ESP8266_Lib.h>
#include <BlynkSimpleShieldEsp8266.h>


#include <Wire.h> // Enable this line if using Arduino Uno, Mega, etc.
#include <DS18B20.h>

#include "LCD.h" // For LCD
#include "LiquidCrystal_I2C.h" // Added library*

// You should get Auth Token in the Blynk App.
// Go to the Project Settings (nut icon).

// Your WiFi credentials.
// Set password to "" for open networks.
char ssid[] = "*************";  // Put WiFi SSID and Password here
char pass[] = "************";

// Hardware Serial on Mega, Leonardo, Micro...
#define EspSerial Serial1

// or Software Serial on Uno, Nano...
#include <SoftwareSerial.h>
SoftwareSerial EspSerial(2, 3); // RX, TX

// Your ESP8266 baud rate:
#define ESP8266_BAUD 9600

ESP8266 wifi(&EspSerial);
DS18B20 ds(6);
LiquidCrystal_I2C lcd(0x27,2,1,0,4,5,6,7); // 0x27 is the default I2C bus address of the backpack-see article


void setup()
{
  // Debug console
  Serial.begin(9600);

  delay(10);

  // Set ESP8266 baud rate
  EspSerial.begin(ESP8266_BAUD);
  delay(10);

  lcd.begin (20,4); // 20 x 4 LCD module
  lcd.setCursor(6, 1);
  lcd.setBacklightPin(3,POSITIVE); // BL, BL_POL
  lcd.setBacklight(HIGH);

  Blynk.begin(auth, wifi, ssid, pass);
}

void loop()
{
  Blynk.run();

  float t = ds.getTempC();
  Serial.println(t);

  lcd.clear();
  lcd.setCursor(6, 1);`
  lcd.print(t);
  lcd.print("C");


  delay(2000);
  Blynk.virtualWrite(V10, t);

}
// Comment me plz